How to Draw a Police Officer: Easy Step-by-Step Guide
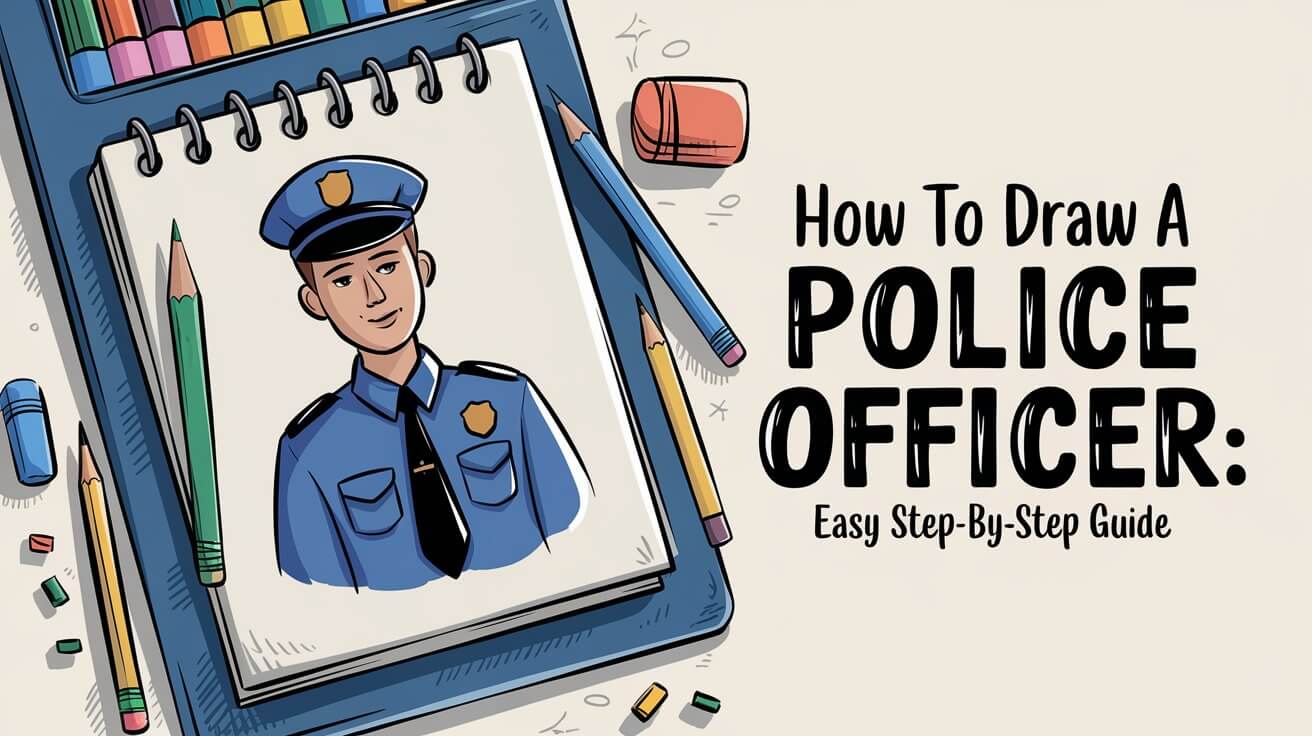
Ready to sketch a police officer? This guide helps artists at any level create a lifelike cop drawing. We’ll start with simple shapes and build up to uniform details. Get your pencil ready to bring a law enforcer to life on paper
Getting Started: Materials and Preparation
Before you begin your police officer drawing, it’s crucial to gather the right tools and set up your workspace.
Essential Drawing Supplies
To draw a police officer, you’ll need:
- Pencils (HB and 2B for sketching, 4B for shading)
- Eraser
- Drawing paper
- Colored pencils or markers (optional)
- Reference photos of police officers
Setting Up Your Workspace
Find a well-lit area with a comfortable chair and flat surface. Organize your supplies within easy reach. Good lighting is key for seeing details and shading accurately.
Basic Shapes and Proportions
Start your police officer drawing with simple shapes to create a balanced and proportionate figure.
Sketching the Head and Body
- Draw an oval for the head
- Add a rectangle below for the torso
- Sketch a vertical line down the center of both shapes
These basic forms will guide you as you add details.
Adding the Arms and Legs
- Draw two ovals for shoulders
- Sketch cylinders for arms and legs
- Add circles for joints (elbows, knees)
Remember, police officers often have a strong, athletic build. Adjust your proportions accordingly.
Detailing the Face
A police officer’s face should convey authority and alertness. Focus on creating expressive features that capture these qualities.
Eyes, Nose, and Mouth
- Place eyes on the horizontal center line of the face oval
- Draw the nose halfway between the eyes and chin
- Add the mouth about one-third of the way between the nose and chin
Take your time with these features. They’ll bring your police officer to life.
Adding Character to the Expression
Consider the emotion you want to portray:
- Determined: Slightly furrowed brow, firm mouth
- Alert: Widened eyes, raised eyebrows
- Friendly: Soft smile, relaxed eyes
The expression can greatly influence how viewers perceive your police officer drawing.
Creating the Police Uniform
The uniform is a defining feature of any police officer drawing. Pay attention to details to make it look authentic.
Drawing the Shirt and Pants
- Sketch a collared shirt with short or long sleeves
- Add pockets on the chest
- Draw straight-legged pants with a crisp crease
Use reference photos to get the right style for your region’s police uniforms.
Adding the Belt and Accessories
Police officers carry various tools on their duty belts:
- Gun holster
- Handcuffs
- Radio
- Flashlight
Include these items to add realism to your drawing.
Perfecting the Police Hat
The police hat is an iconic part of the uniform. Getting it right can make your drawing instantly recognizable.
Shape and Structure
- Draw a slightly curved line for the brim
- Add an oval shape for the crown
- Connect the two with curved lines on each side
The hat should sit naturally on the head, neither too large nor too small.
Badge and Details
Don’t forget the badge on the hat:
- Sketch a shield or star shape on the front center
- Add small details like text or emblems
These touches will make your police officer drawing more authentic.
Finishing Touches
As you near completion, focus on refining your drawing and adding depth.
Refining Lines and Shadows
- Go over your sketch with darker, more confident lines
- Erase unnecessary guide lines
- Add shadows under the hat brim, around the collar, and under the arms
Shading brings dimension to your police officer drawing.
Adding Color to Your Police Officer Drawing
If you choose to color your drawing:
- Use navy blue for the uniform
- Add black for the belt and shoes
- Color the skin with natural tones
- Use gold or silver for badges and buttons
Remember, coloring is optional. A well-shaded pencil drawing can be just as impressive.
Common Challenges and Solutions
Even experienced artists face hurdles when drawing police officers. Here are some common issues and how to overcome them.
Proportion Problems
Issue: The body looks unnatural or distorted.
Solution: Use the “head size” method. An adult body is typically 7-8 heads tall. Measure your drawing to ensure proper proportions.
Uniform Details
Issue: The uniform looks flat or unrealistic.
Solution: Study real police uniforms. Notice how fabric folds and creases, especially around joints and when the officer is in motion.
Practice Exercises
Improve your police officer drawing skills with these exercises:
Quick Sketches
Set a timer for 5 minutes and draw as many police officer outlines as you can. This helps you internalize the basic shapes and proportions.
Different Poses and Angles
Challenge yourself by drawing police officers:
- Running
- Sitting in a patrol car
- Talking on a radio
Varying poses will improve your overall drawing skills.
Tips for Improving Your Police Officer Drawings
Take your art to the next level with these advanced techniques.
Observing Real Officers
Watch police officers in your community. Notice:
- How they stand
- How the uniform fits
- Their typical expressions
This real-life observation will add authenticity to your drawings.
Using Reference Photos
Collect photos of police officers from various angles. Use these to:
- Study uniform details
- Understand facial features
- Analyze body postures
Remember to use photos as reference, not for direct copying.
Digital vs. Traditional Drawing Techniques
Both methods have their place in creating police officer drawings. Consider the pros and cons of each.
Pros and Cons
Traditional:
- Tangible artwork
- No technology required
- Harder to correct mistakes
Digital:
- Easy to edit
- Many tool options
- Requires hardware and software
Choose the method that best fits your style and resources.
Tools for Each Method
Traditional:
- Graphite pencils
- Erasers (kneaded and rubber)
- Blending stumps
Digital:
- Drawing tablet
- Stylus
- Software (like Photoshop or Procreate)
Experiment with both to find your preferred technique.
Bringing Your Police Officer to Life
Give your drawing context to tell a story and engage viewers.
Adding Background and Context
Place your police officer in a setting:
- City street
- Police station
- Community event
The background can enhance the overall impact of your drawing.
Creating Action Scenes
Show your police officer in action:
- Helping a citizen
- Directing traffic
- Investigating a scene
Action brings energy and interest to your artwork.
final thoughts
Drawing a police officer combines observation, technique, and creativity. By following this guide and practicing regularly, you’ll create impressive and realistic police officer drawings. Remember, every artist has their own style – don’t be afraid to inject your personality into your work. Keep refining your skills, and soon you’ll be drawing police officers with confidence and flair.
Whether you’re sketching for fun, creating illustrations, or working on a specific project, the ability to draw a police officer accurately and expressively is a valuable skill. So grab your pencil, start with those basic shapes, and watch as your police officer comes to life on the page!

